2.1 Choosing of a programming tool

Research on programming tool

For starter I like to mention that the following programming tools are picked by advice of the teachers and follow programming students. This is done because of the lack of programming experience I have myself.

The following programming tools have been selected:

  • Android studio
  • Vue
  • Processing
  • MIT App developer

What did I want the app to do but also, what do I want to learn? Programming by using Java is a good start. From there I looked at the different kind of visualisations and interactions the tools had to offer. In order to find the right tool to program the app, research by watching tutorials was done. Making small codes and watching different examples helped me show the different possibilities of the tools.

Android studio

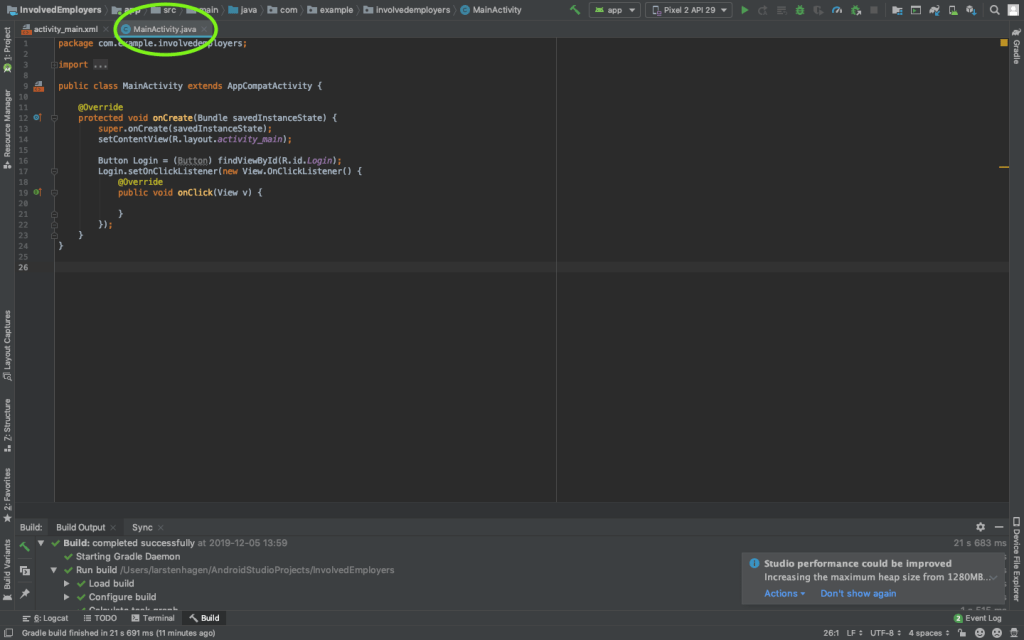
For Android studio and Vue I looked at small examples of codes and installed the tools to try them out for myself. In week 2 I made a small logging in page in Android studio and looked at two tutorials of one our to watch the different possibilities the tool has to offer. It is a nice way of adding buttons and layers of tekst. You can connect the buttons you insert in the code to different actions. In the pictures below you can see the visual representation page and the java code page. It isn’t connected, it only served as a test.

Visual representation
Java code

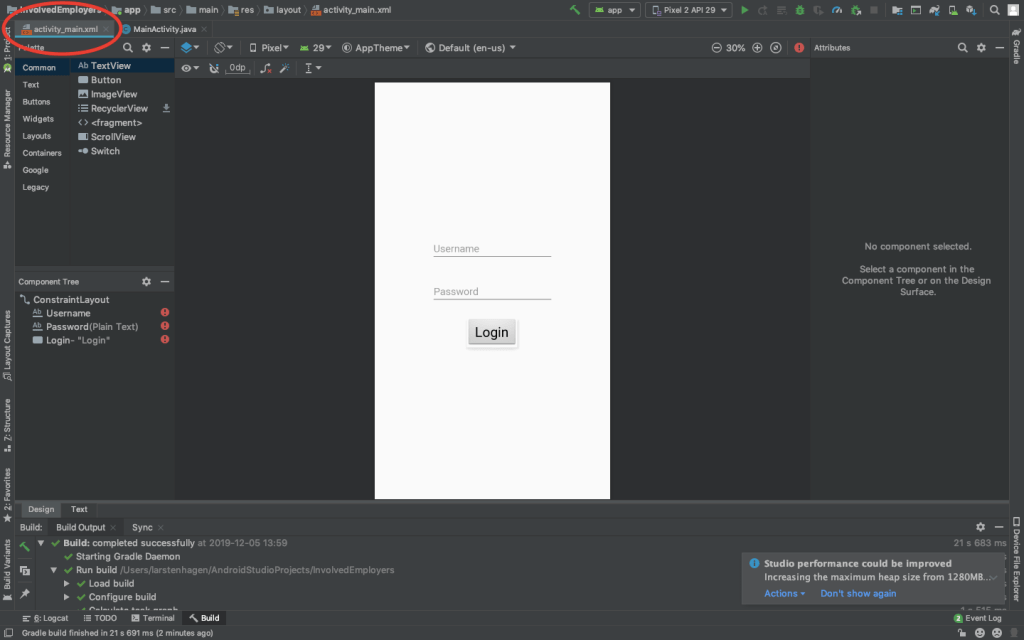
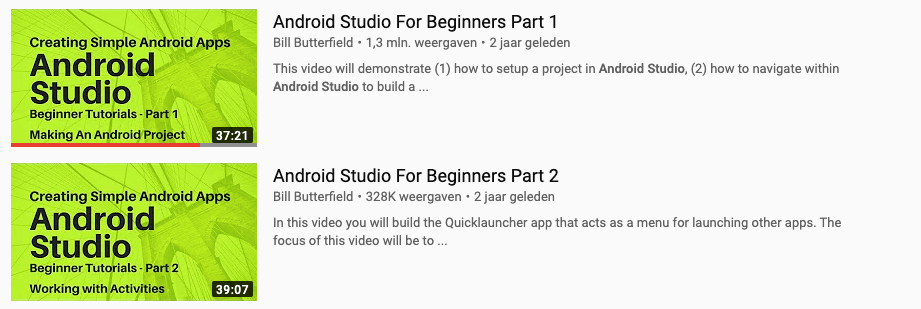
For Android studio I watched two youtube tutorials. They are displayed below.

Vue

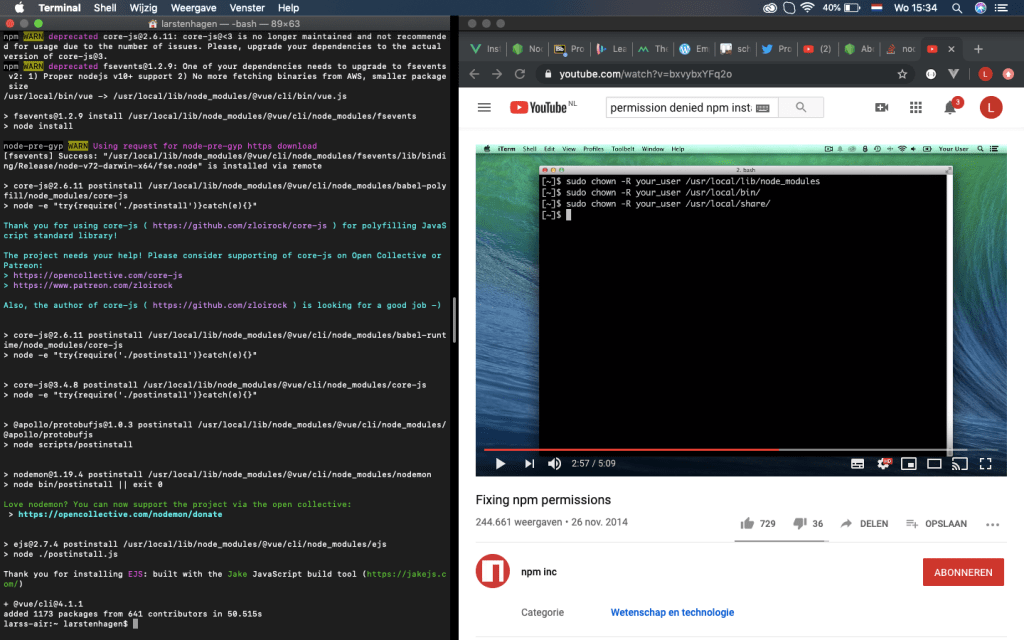
The installation and setup of Vue doesn’t worked the way it was displayed in the tutorials. The Node.js I dowloaded was denied access my laptop. To change settings within the terminal of my computer I watched tutorials of about 1 hour.

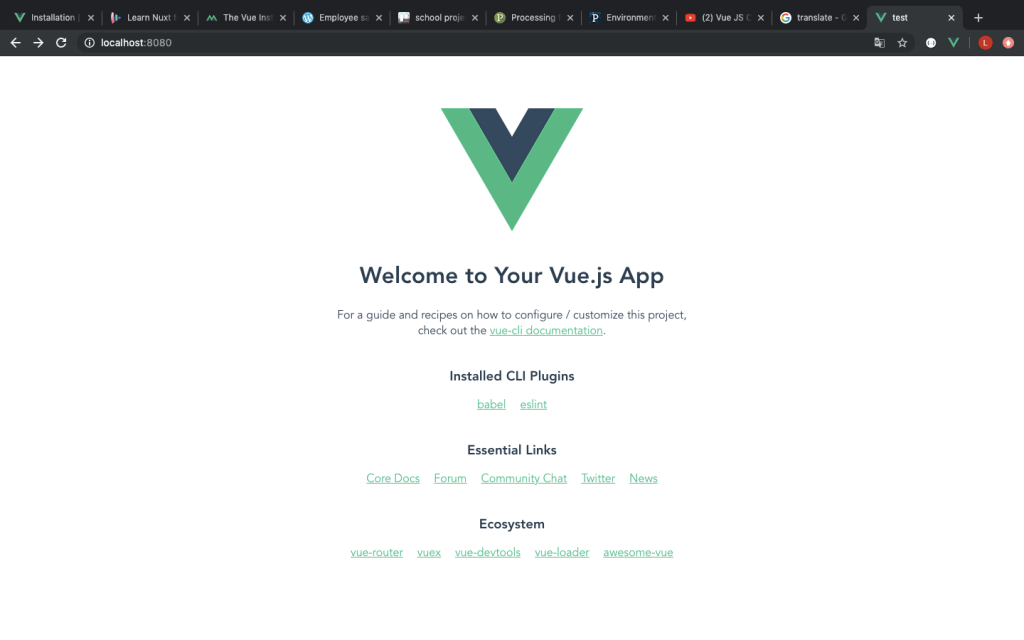
After finding the right settings I could create my first test website. This website can eventually work as an app which can be displayed on your mobile phone. The new app could be created via the terminal or a pre-made dash board (Beta). Within this dashboard I can display some statistics of my app, so want to eventually use the dashboard. The dashboard is displayed below.

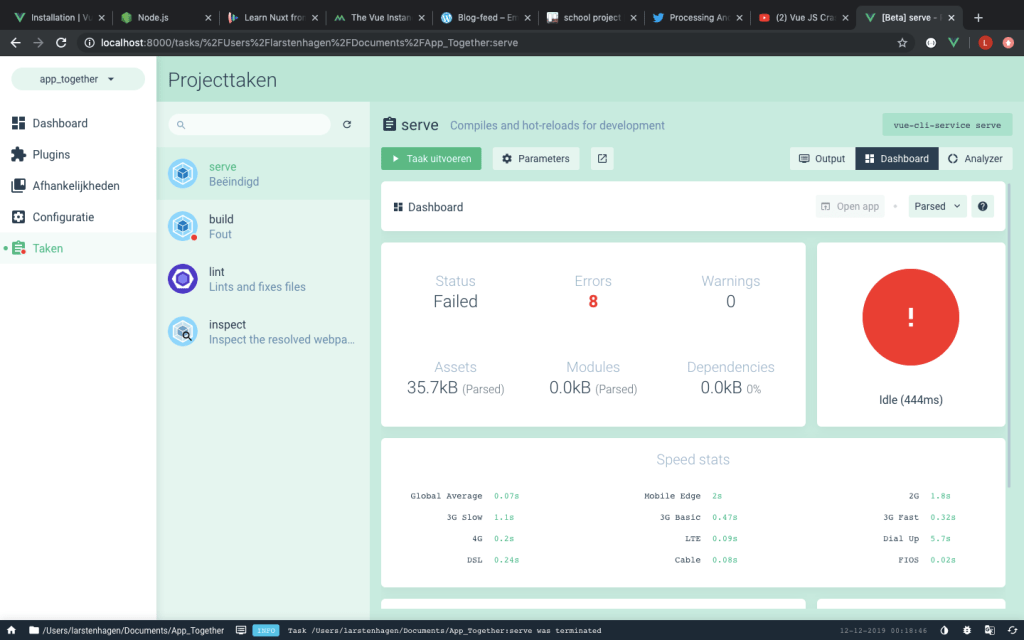
The terminal worked, but the dashboard sadly didn’t. The picture below displays the test website, made with the terminal.

I need to decide if I wanted to go on with the terminal or fixe the dashboard if I decide to use Vue. For Vue I watched two youtube tutorials and some lessons. They are displayed below.

https://www.vuemastery.com/courses/intro-to-vue-js/vue-instance

https://vueschool.io/courses/nuxtjs-fundamentals

Processing

For processing I read a tutorial on the official website. This worked for me since the layout was familiar. I downloaded the The link below brings you to the webpage of the tutorial.

https://android.processing.org/tutorials/getting_started/index.html

I have also looked at a few youtube tutorials for the possibilities that processing has to offer. And the ease of transferring code to a mobile phone.

http://www.youtube.com/watch?v=TH4bl-5Nxk8

MIT

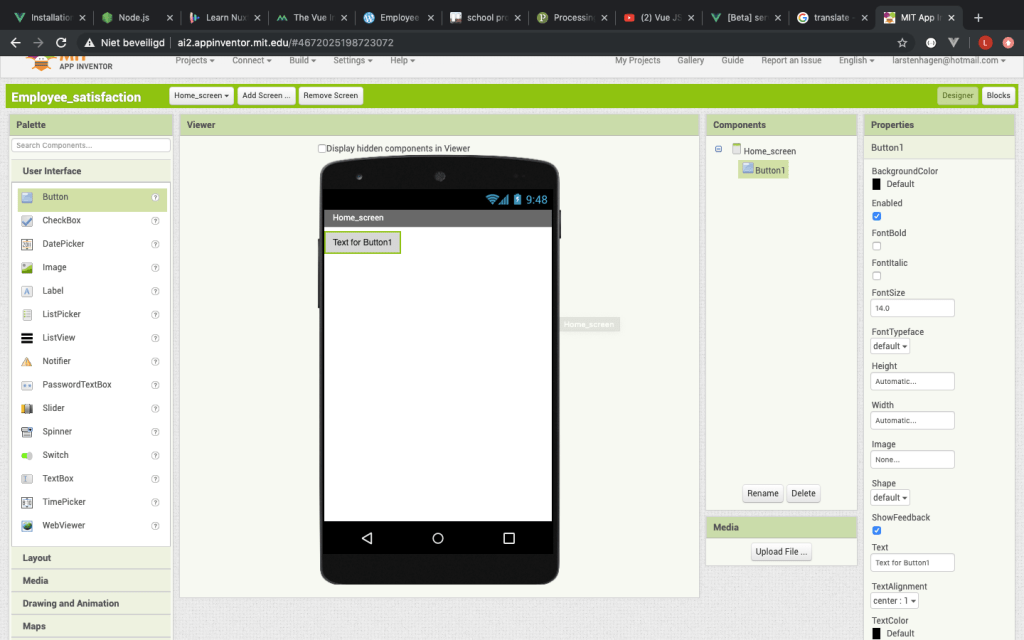
For MIT app development I didn’t really put much effort into finding out the different functionality because of the simple layout. I want to learn to make an app by doing javaScript coding, not by placing pre-made buttons and text.

Final decision

The layout of android studio isn’t to my liking. I find the coding part too unfamiliar. And to link the buttons in the code is hard if you aren’t use to it. At first, I thought of Vue as a nice way to really learn javaScript in the web browser. It was very hard to implement on my laptop after changing the settings. Eventually I needed to start up the design of the app inside my terminal every time. The programming was supported by a lot of tutorials but it showed to be quite hard, despite the extensions that helped simplify the coding.

Processing showed to be a nice direct method. Your mobile phone can display the app with a usb connection. I am afraid that processing isn’t the easiest tool if it comes to the building of my app. It is nicer if I didn’t have so much conditional rendering.

MIT app development does isn’t the way I want to increase my javaScript knowledge. This because of the way the buttons are implemented and the different screens that are added.

I am going to use Vue as my programming app. Now the installation is completed , I think that it should go easier. The tutorials that are
available should help me.

Time for choosing of the programming app: 16 hours

  • android studio: 4 hours
  • Vue: 9 hours
  • Processing: 2 hours
  • MIT: 1 hour

visual storytelling – week 1/2

In this post the photo’s of the assignment of visual storytelling are displayed. Not all photo’s are displayed, but only the best ones.

The assignment

create the following pictures:

  • 3x wide shot, 3x medium shots and 3x close up shots
  • 2x bird perspective and 2x frog perspective shot
  • 4x a shot using lines/arcs
  • 4x a shot where you play around with lighting
  • 3x a creative shot that could be rendered still frame which takes place in the city of Enschede… use your imagination!
  • 2x a night shot that could be a rendered still frame from a horror game
  • 2x a picture with extra attention for negative space

Best pictures

The pictures were took in the town of dieren

Night shot that could be a horror movie or game
A shot using lines/arcs
wide shot
frog perspective
Bird perspective
Close up shots

Experience

The assignment was in my opinion a nice way of seeing what different perspectives can bring. The lesson had some nice examples, but when taking the pictures yourself you really start to see the difference between the perspectives. I am looking forward seeing what you can do with this pictures with a program as illustrator.

The camera lessons

The camera lessons gave me a nice insight in manually using a camera (a real one, not on your phone). We used the Aperture Value, TV and completely manual.

Av = ”In this position, it is precisely the aperture that you manually choose using the rotary wheel. The camera searches for the appropriate shutter speed based on the exposure measured by the camera” (Elja Trum, 11/12/2018)

Tv = ”In this mode, the focus is on the shutter speed. You set this yourself by turning the wheel. The aperture automatically adjusts based on the measured exposure”(Elja Trum, 11/12/2018)

In manual mode, both the Av and Tv can be varied. It was nice to see what kind of impact the amount of light has on the picture. It is nice to know that the Tv can be used for speedy, fast objects and the Av can be handy when you want to have a small depth of field in your photo. For example, set the aperture to +/- 2.8 and you are almost certain that your background will be blurred.

Start App design

Ideation

The design idea

The employee can fill in insights about their experience during work into an app. The input will be in summery. If the filled-in insights are negative, the machine will display red. If the input of the app is mostly positive, the machine will display green. Every input in-between will end into an orange output of the machine.

The main idea of the project is to create the app and let employees share their working experience and with it feel more involved within the company, the machine can give a visual representation of the working experience within the company. All the input of the employees will be put into an overview for the designated department to see. For example: If mechanics fill this in, the supervisors of the mechanics or a person who is appointed to gather employee information will get a notification of the submission. The submission will be sent to the department that can do something with the given insight. If the insight doesn’t apply to the department, according to the department, it could always be passed on the someone else within the company.

The department can process the insight by letting the employee know the issue is something noted for the long term, that they are prioritising the problem and solving it within a given time-period or simply saying they are dealing with it. The insight can also be seen as something to accept, or too hard/ impossible to handle, this should be communicated. By closing an insight, the issue expected to be solved (according to the department). In order for the employee to find the problem solved, the employee can also close the insight.

More open insights mean the machine will turn red, this red display can be lower by doing one of two things:

1. Lower the amount of open insights by solving the issues;

2. Changing standards: The amount of open insights that will indicate a red, orange or green light signal.

Note!

In order for the app to be implemented into an organisation. There needs to be an admin account for the company. In this project the focus lays on the employee part.

The progress of the project can be seen in Trello.

Already gathered information

I summarised the relevant information that I already gathered. The app design I made in the ‘design of mobile apps’ course is a good starting point. I made a design of the app, did some research on existing tools and substantiate the urgency. The design choices are based on other programs and methods who help companies get their employees more involved within the company.

Intranet –> fills the function of keeping everyone up-to-date but does not support feedback from employees.

Yammer –> fills function of keeping everyone up to date and support feedback from employees.

Suggestion box –> Feedback by topic.

Already made layouts for the app

Milestones for the project

Ideate on the subject and find out if the problem is actual an ‘problem’.

  • Getter important information from the previous design of the app;
  • Translate the already made designs and information into a functional demand list so the new app can be build out of this demand list.

Make the app  –>  Tutorials for programming part (YouTube);

  • Find a programming tool;
  • Make a login screen with a Hotmail and password;
  • Make a home screen;
  • Make the submission of insights with overview (let users choose which department is responsible);
  • Make the overview of topics and the option to make new topics;
  • Insert an agenda with topics to put in;
  • Test the app with at least five persons.

Make the app send a Bluetooth signal to communicate with a machine. This machine expects an amount of open and closed submissions;

Make the receiving machine –> Ask Harry for the Bluetooth receiver and the display of the received info;

  • Make at least three designs for the machine à with connected a Bluetooth receiver and a way of displaying.

IDEA: The machine can have a counter which displays the amount of submissions. The counter can be in the shape of a vertical rectangle (battery like). The amount of LED’s that are on will display the amount of solved submissions in comparison with unsolved submissions. When a certain degree of unsolved submissions is reached, the counter turns red.

5. Let the app interact with the receiving machine (preferably via a mobile).

Time spend for start app design: 7,5 hours

  • Time spend for introduction + setup milestones: 2 hours
  • Time spend for logo: 0,5 hour
  • Time spend for setting up WordPress and Trello (including tutorials): 2 hours
  • Time spend for watching youtube, reading about the importance of the subject: 3 hours oa: https://youtu.be/cCdu67s_C5E https://youtu.be/HRwTnFO43zw

Design a site like this with WordPress.com
Get started