In this post the photo’s of the assignment of visual storytelling are displayed. Not all photo’s are displayed, but only the best ones.
The assignment
create the following pictures:
- 3x wide shot, 3x medium shots and 3x close up shots
- 2x bird perspective and 2x frog perspective shot
- 4x a shot using lines/arcs
- 4x a shot where you play around with lighting
- 3x a creative shot that could be rendered still frame which takes place in the city of Enschede… use your imagination!
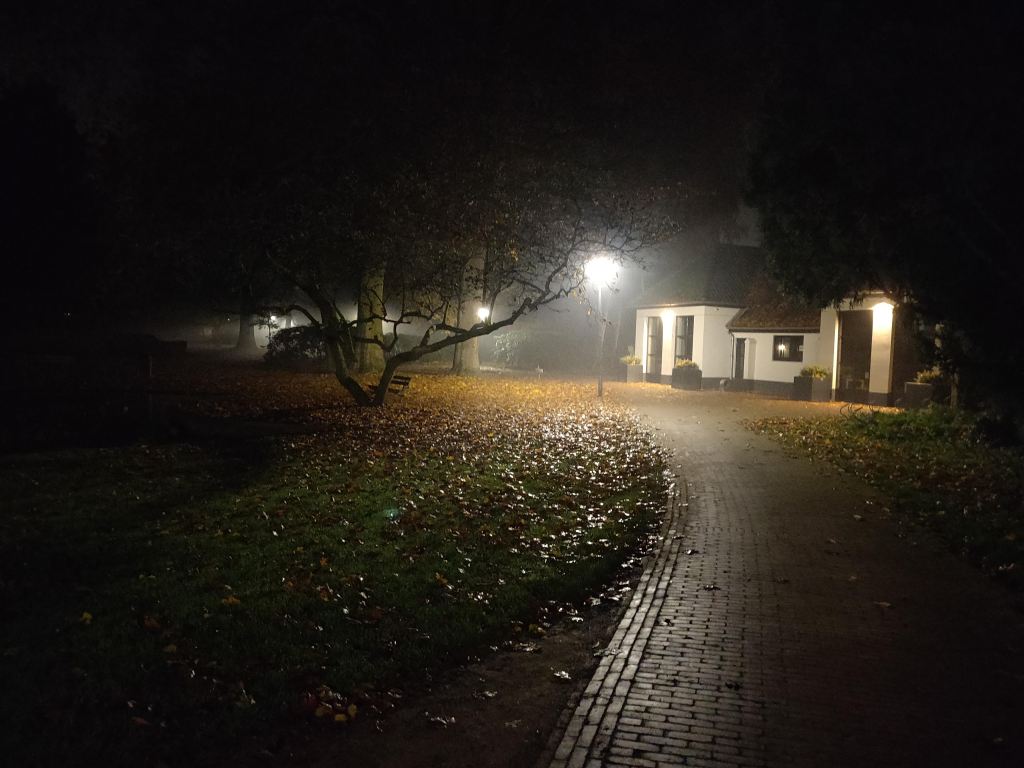
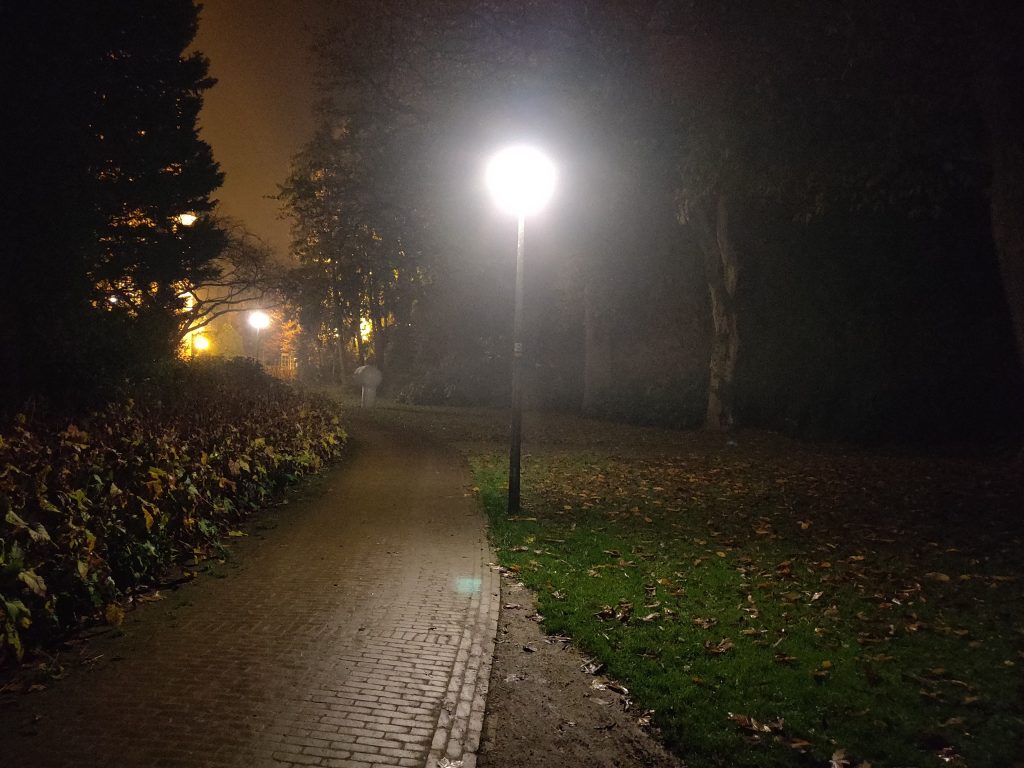
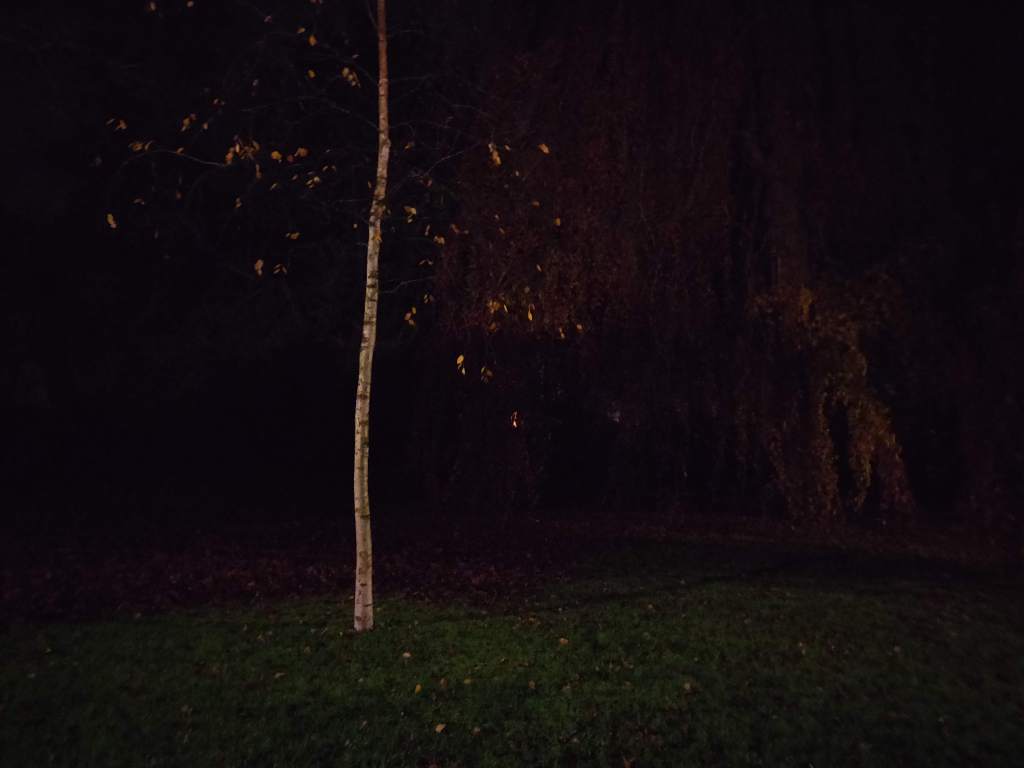
- 2x a night shot that could be a rendered still frame from a horror game
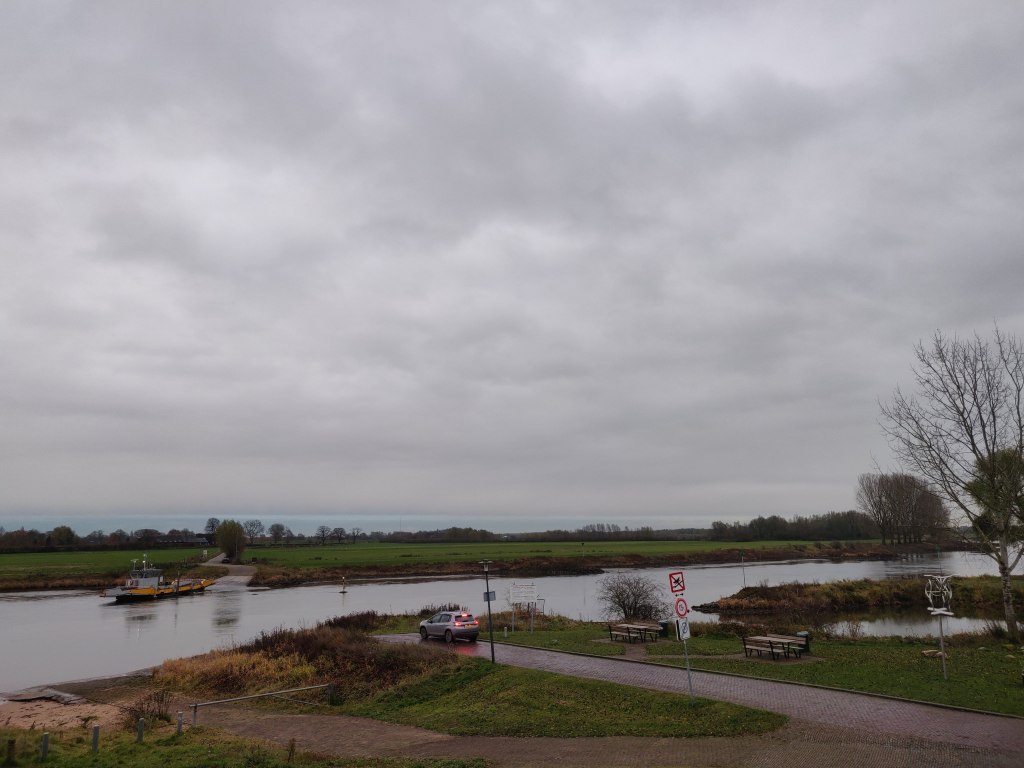
- 2x a picture with extra attention for negative space
Best pictures
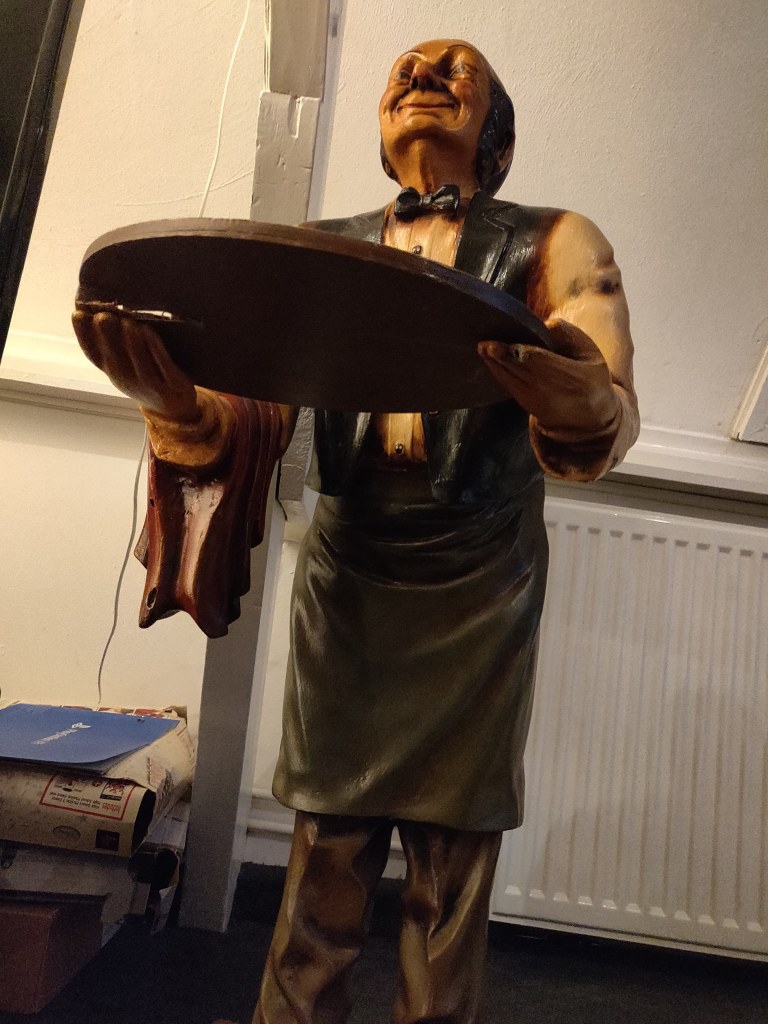
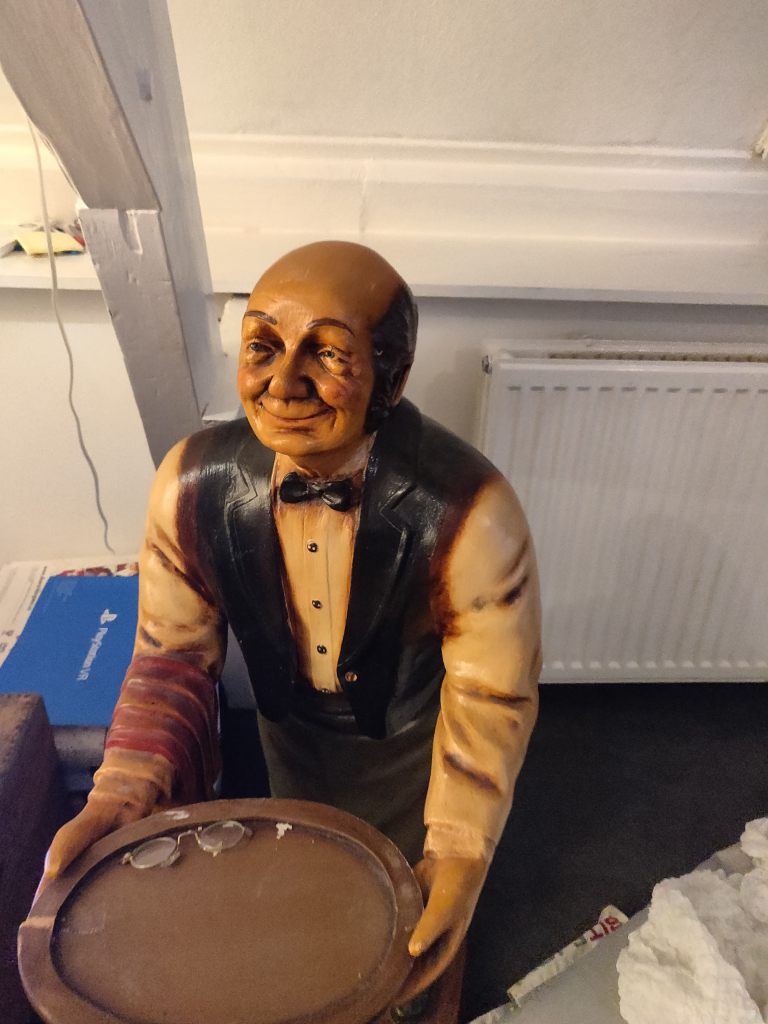
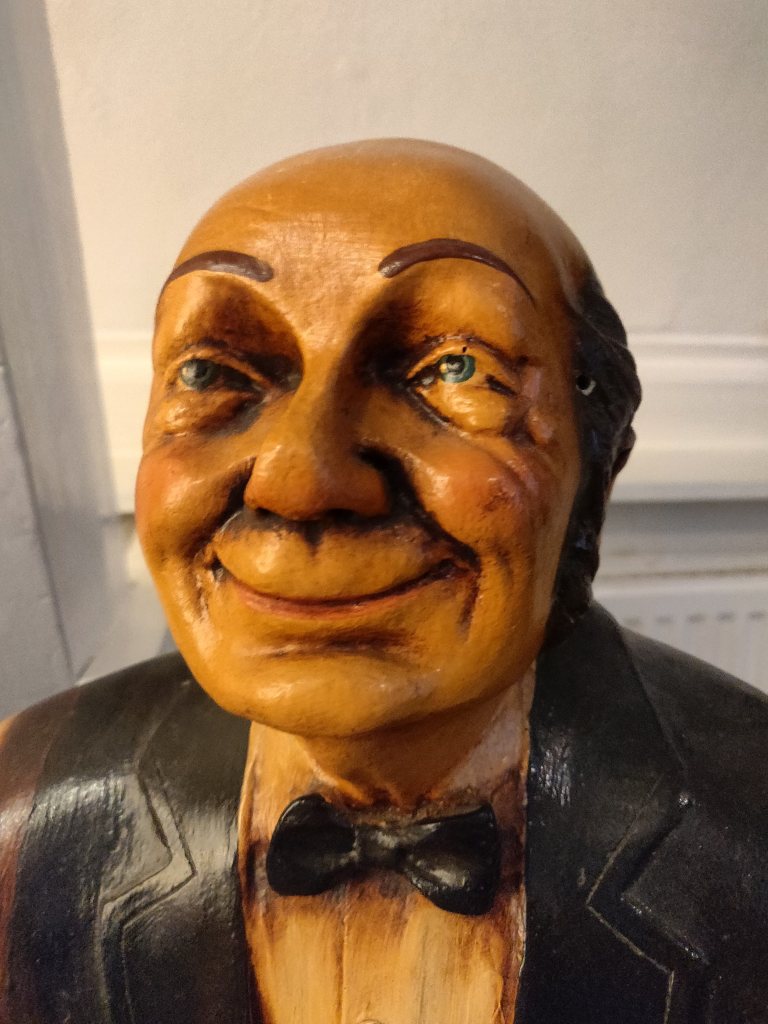
The pictures were took in the town of dieren
Experience
The assignment was in my opinion a nice way of seeing what different perspectives can bring. The lesson had some nice examples, but when taking the pictures yourself you really start to see the difference between the perspectives. I am looking forward seeing what you can do with this pictures with a program as illustrator.
The camera lessons
The camera lessons gave me a nice insight in manually using a camera (a real one, not on your phone). We used the Aperture Value, TV and completely manual.
Av = ”In this position, it is precisely the aperture that you manually choose using the rotary wheel. The camera searches for the appropriate shutter speed based on the exposure measured by the camera” (Elja Trum, 11/12/2018)
Tv = ”In this mode, the focus is on the shutter speed. You set this yourself by turning the wheel. The aperture automatically adjusts based on the measured exposure”(Elja Trum, 11/12/2018)
In manual mode, both the Av and Tv can be varied. It was nice to see what kind of impact the amount of light has on the picture. It is nice to know that the Tv can be used for speedy, fast objects and the Av can be handy when you want to have a small depth of field in your photo. For example, set the aperture to +/- 2.8 and you are almost certain that your background will be blurred.
